Louise Bourgeois, Eva Hesse and Alice Adams : Abstract Erotic
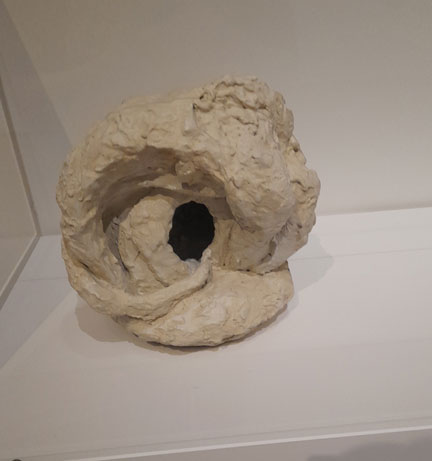
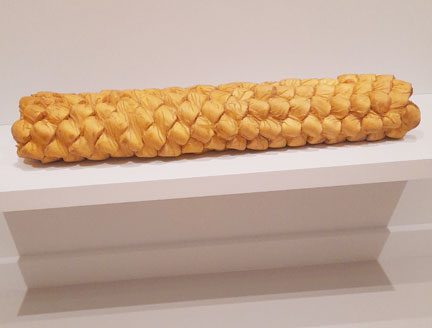
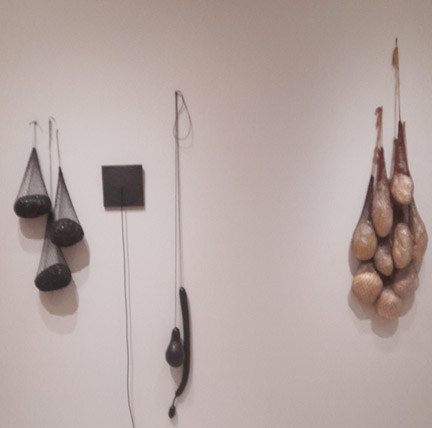
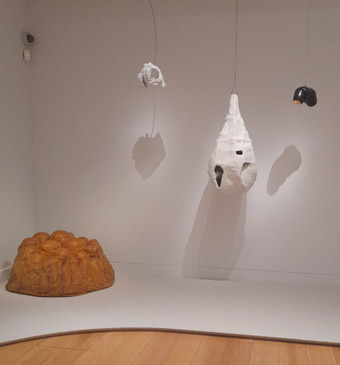
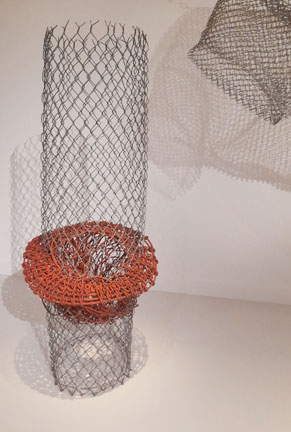
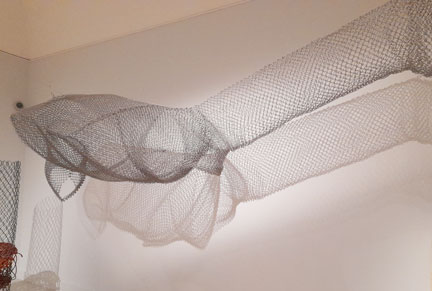
In 1966 Lucy Lippard the art critic curated a ground-breaking exhibition Ecentric Abstraction in New York, which showcased a new approach to sculpture. This was distinct from the rigidly geometric forms previously created at that time. The sculpture produced a ‘sensuous response’ in the viewer. The materials comprised papier mache, plastic mesh, netting, chain-link fencing.
The Courtauld exhibition brings together the three women artists. Women artists at this time were not regularly shown in galleries or well-known. She said that at the time I can see now that I was looking for ‘feminist art‘
Whether this type of once new sculpture has any relevance today, is debateable. I had already seen previous works by Louise Bourgeois, far more impressive and ground-breaking. The room full of her sketches and drawings were very unimpressive and it is doubtful why they were included in the show.
All in all, my partner and I appreciated seeing these works, however, there are many women fibre and sculpture artists now. Next week we are going to Tate Modern to look at the permanent exhibitions.