Drypoint is the name of a method of printmaking in that marks, lines and areas of tone are made on a plate; in this case perspex, usually about 2mm in depth. It is similar in some ways to etching but there is no acid used to imprint lines into the etching metal plate.
Perspex is best for long editions, as opposed to the fragility of Tetra Pak and Enviromount. It is worked with a drypoint or etching needle. You need an etching press to print these; it won’t work by hand.
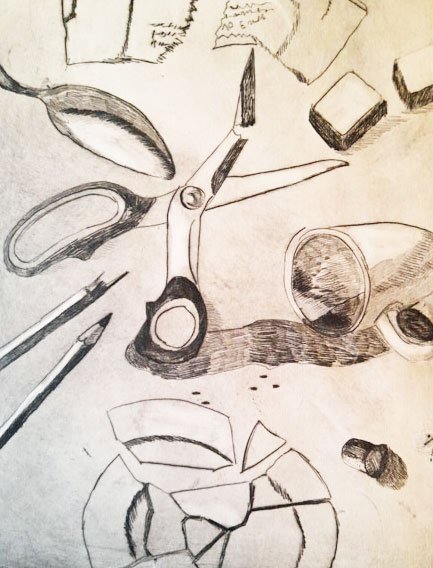
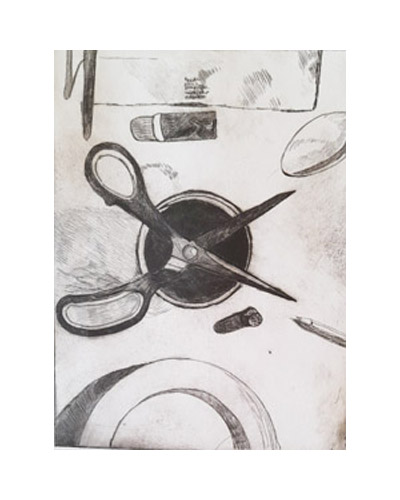
Making the image. Lines are made with a drypoint needle by scratching into the surface. For dark areas you need to cross hatch; the dark areas in the print above were made by lots of cross hatching. It is probably the best surface for drawings as you can make wavy and circular lines more easily on perspex than other surfaces. You can also get mid tone areas with light cross hatching.
You can place your drawing, photo or copy under the perspex to work directly.
Inking the plate: I recommend Akua inks which are quite liquid and spread easily. Ink the plate as you would an etching, applying ink evenly with a brush or piece of card, working the ink into the lines. Clean off with tarletan, newsprint and tissue paper for a good plate tone. Use cotton buds for inkless areas. Paper: I use Somerset 280 gsm paper soaked for 30 minutes. I don’t recommend lightweight paper as it won’t be soft enough to pick up detail.
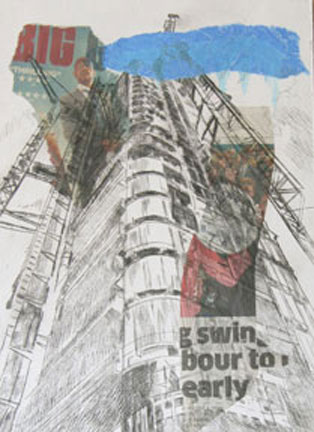
Chine Colle: you can attach pieces of thin Japanese paper or strong tissue paper to the plate before laying on the paper; I used prit stik and also Japanese rice glue, both worked equally well.
Leave overnight under weights with tissue paper to flatten and dry.
City Road Series 2 and Ordinary Things 2: Scissors: drypoint showing chine colle in 1 and hatching in 2